
Hello!
So it is my husband's birthday, and he is reaching a milestone, turning 40! As this is a special birthday to celebrate he had a special request for his birthday cake, a Black Forest gateau... I already attempted to bake a Black Forest two years ago, and found a recipe on BBC Good Food that worked really well. I went a little overboard now, as this is a 40th birthday I decided that the cake should have more layers, 1 for each decade! So we ended with a very tall cake, with four tiers.... The very rest I kept the same, just added more details on the presentation, as my chocolate leaves. I really enjoy experimenting new techniques, and this time around I attempted at drawing with melted chocolate. These were the ones that were a little bit more troublesome for me to make, as it was my very first attempt at moulding chocolate, so I had to wait a bit until I had the right texture to mould and then created the leave shape. Before I did googled how to make chocolate leaves, and found many tutorials available... I didn't quite follow any specifically, I just took several tips and then made my own leaves. Many tutorials use actual leaves as moulds, and others draw the leaves on paper using forks. Since I didn't have any leaves handy at home, or was feeling like going leaf hunting outside, I decided to free draw my chocolate leaves on aluminium paper, and use the flexibility of the aluminum foil paper to mould the leave, and then just put in on them the fridge... In the end I had these little chocolate leaves:

For me, the the greatest difficulty of the Black Forest is the assembly. You have to prepare before hand the cherry jammy, and the double cream. So, after the cakes are cold, they are layered with double cream and cherry jammy, ending with final spread of chocolate.
Layering 4 tiers for me was difficult. I was feeling like I would probably end up with a Pizza tower... So getting the right balance and making sure that the layers were even for me was very tricky. I started by considering my chocolate cake sponges shape, I had two sponges that were uneven, and had to balance the shapes between them. If the bottom cake was little bit higher in the right, I made sure that the second cake layer was a little bit higher on their left side, so they would balance each other. I was lucky, as I had two chocolate sponges that were even, and two chocolate sponges uneven but did balance each other. After layering chocolate sponges, cream and jammy cherry and the chocolate spread I had this little cake tower:

I left it as you can see, as I was enjoying this perfect shapes and the handmade touch. And I was still missing chocolate leaves and the fruit. The final step was all about decoration. I had some cherries that haven't used in the jammy, strawberries and raspberries to use in the cake.
To attach the chocolate leaves to the cake I use the the leftover of my chocolate spread.

And a final touch of powder sugar and we're done! This picture does show my fears of having a pizza tower for cake... However I did manage to get that fixed! Just added more fruit!
I used a lot of red fruits, by savouring this chocolate cake and these berries, you enjoy a lovely contrast between the strong chocolate flavour and the red fruits.
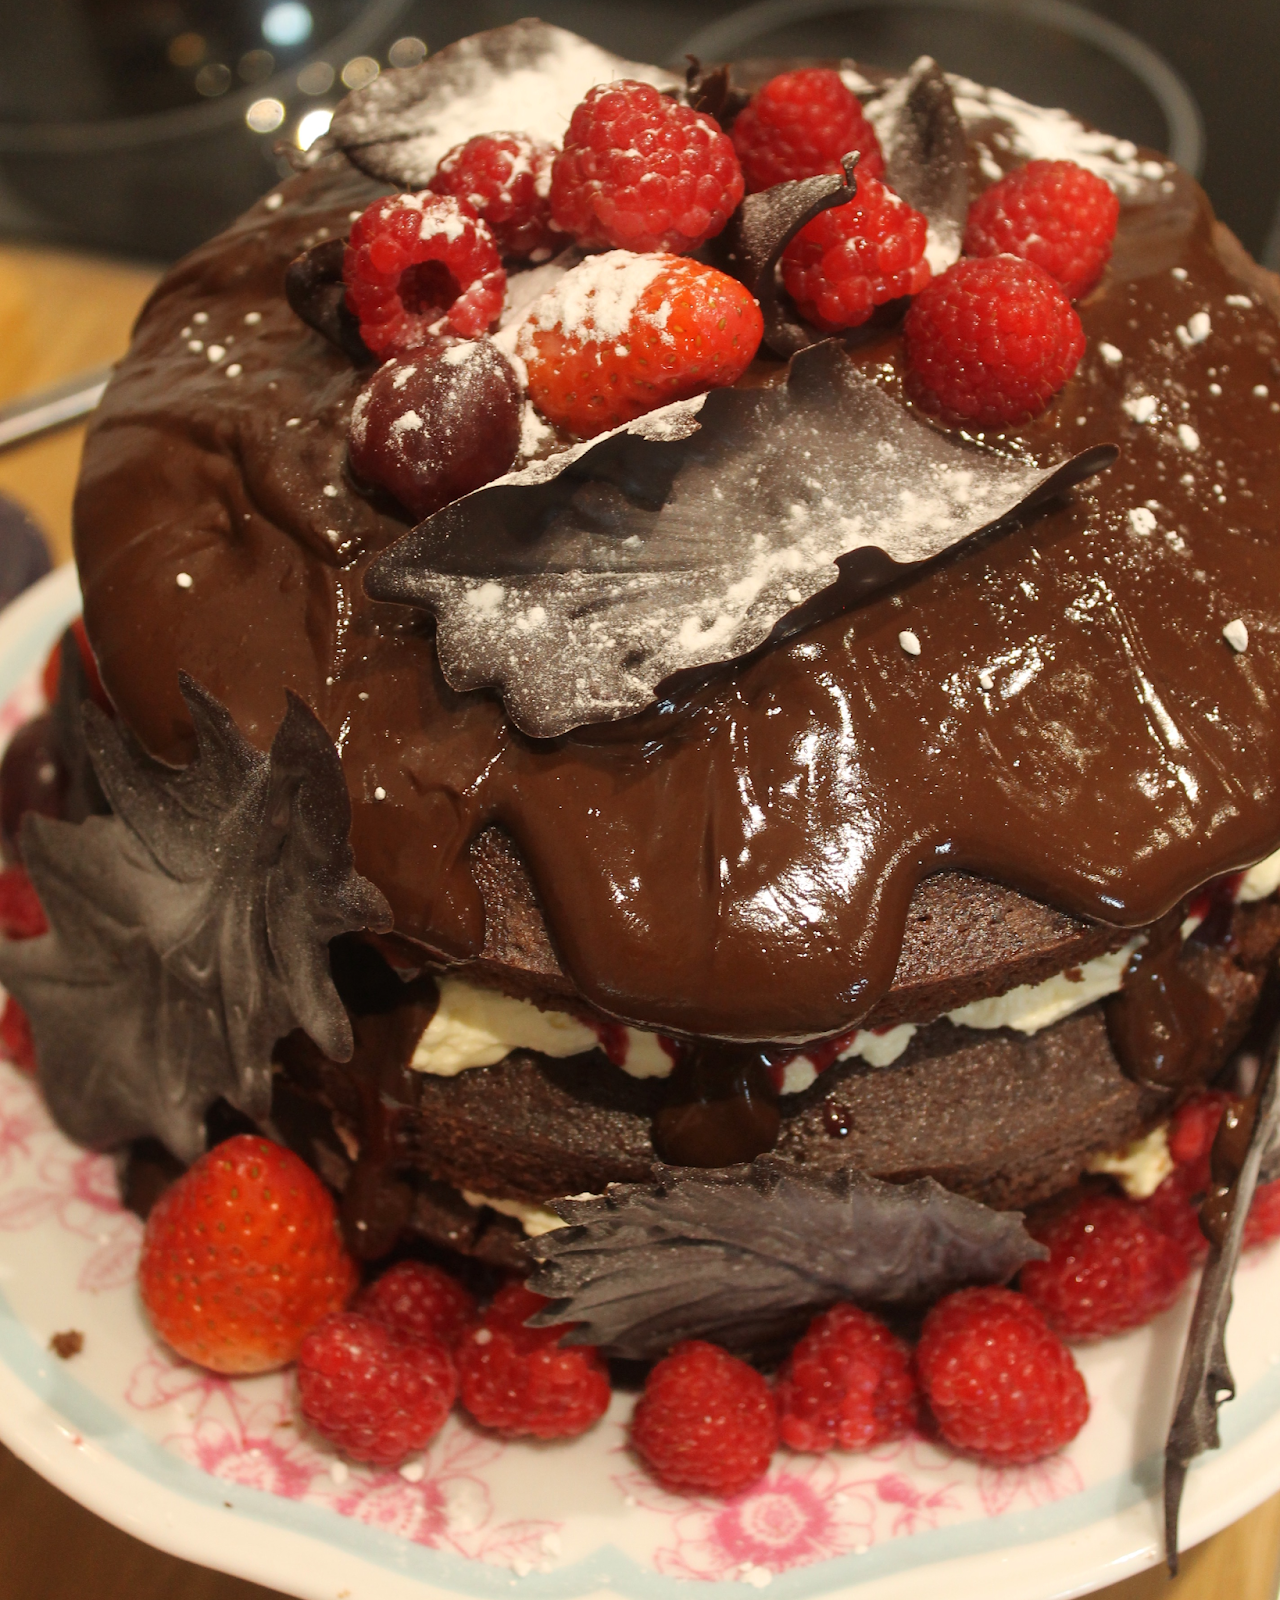
And it's finish, a very yummy Black Forest Gateau ready to go to the birthday celebration!

Fantastic Post! Lot of information is helpful in some or the other way. Keep updating.leaves shape cake mould
ReplyDelete